Remember the ‘olden days‘ when you’d carefully snap photos on a film camera (for me, it was usually a disposable one), wait for the roll to fill, then wait even longer for development? Finally, with a stack of photos in hand, you’d flip through them and laugh, picking your favorite to frame or pin on the bulletin board, the rest often ending up in a storage box. Or maybe you were diligent about slipping your photos into albums (I wasn’t).
Then what? The boxes accumulated? Gradually the photos turned into a jumbled mess? Do you occasionally glance the albums collecting dust and think “I should really do something with those? What if there’s a fire/flood/accident and we lose all those memories?’
Preserving your family photos can feel like an overwhelming task. Since it feels too big to tackle, it becomes a lingering ‘to-do’ item that there’s never enough time to actually DO. So, let’s break it down and make it manageable. I have a few tips that I hope will encourage you to finally tackle that jumbled pile of old photos & lift a huge weight from your shoulders!
getting organized
This could be a single day project for some or an ongoing project for others. The point is JUST START. That magical week with absolutely nothing to do but organize old photos will never appear on your calendar. Once you JUST START, naturally, you’ll carve out the time you need.
First: find an empty box. Doesn’t need to be anything fancy. Just save the packaging from your next Amazon delivery.
Next, walk through every room of your home and look for loose photos. Throw them into the box. While you’re walking through your home, grab photo albums or photo storage boxes and bring them to one central location. The goal is to create one large, consolidated pile of family photos.
With everything in one place, you may feel overwhelmed by the volume of photos that need to be scanned. Take a deep breath and remember how amazing it’ll feel when these are all scanned and backed up digitally! Think of how many amazing #tbt photos you’ll have at your disposal!
Then, determine how you’ll organize the photos. Obviously it makes sense to organize your photos chronologically, but it’s easy to get bogged down in the (often missing) details. My advice is to stick with a chronological organization structure, but keep it very high level.
For my family, I created eight piles:
- Casey Baby
- John Baby
- Casey Grade School
- John Grade School
- Casey High School
- John High School
- Casey College
- John College
Sort the loose photos into these piles. Stack the photo boxes/albums into these categories as well. Yes, ‘grade school’ is a really broad category, but this worked for me because my memory of that era is fading and it’s hard to distinguish between the years. Like I said, don’t get bogged down in the details… remember DONE IS BETTER THAN PERFECT!
WHEW! It may look like a tornado just rolled through your room, but, actually the hard part is over! Now, it’s time to SCAN!

scanning old photos
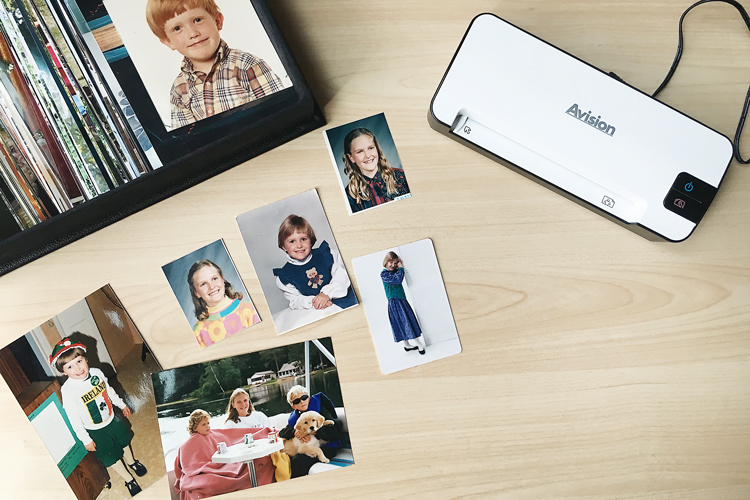
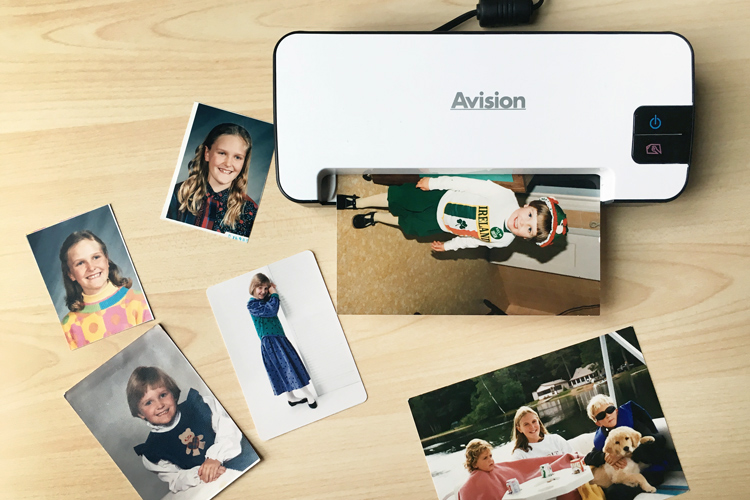
I searched & searched for a reasonably priced photo scanner that would QUICKLY & EASILY process a high volume of photos. [see this post for an updated list of recommended scanners!]
Scan one pile per evening (while watching TV). If you have eight piles like me, in just over a week your entire photo collection will be SCANNED and you’ll have digital copies of a LIFETIME OF PHOTOS! I was able to scan all the photos from a middle school photo album (roughly 50 photos) in about 15 minutes.
Don’t have time for that? I offer photo scanning services!
Tomorrow I’ll share tips on what to do with all your new DIGITAL copies and the process I use for backing up my photos.

