We expect our iPhones to transfer photos just like a memory card from a camera, but the truth is it’s not that simple anymore.
Why not? Almost everyone has iCloud enabled on their iPhone which means the photos aren’t actually stored locally on the device, which means manual transfer isn’t possible.
—————-
How to Transfer iPhone Photos to Computer
Here are a few popular ways to transfer photos from your iPhone to your computer. Review the pros + cons of each method to select the one that will work best for YOU (option 3 is my personal favorite)!
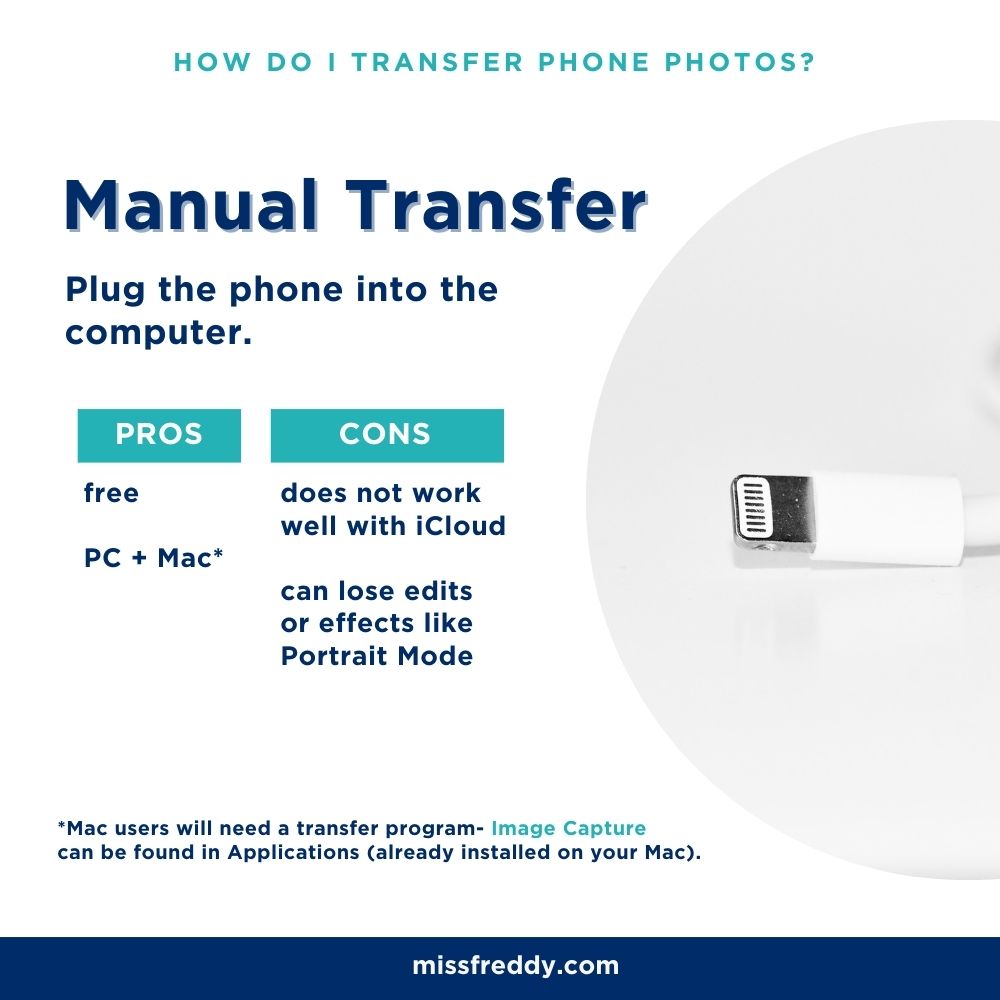
Option 1: Manual Transfer (not recommended for iCloud users)
————-
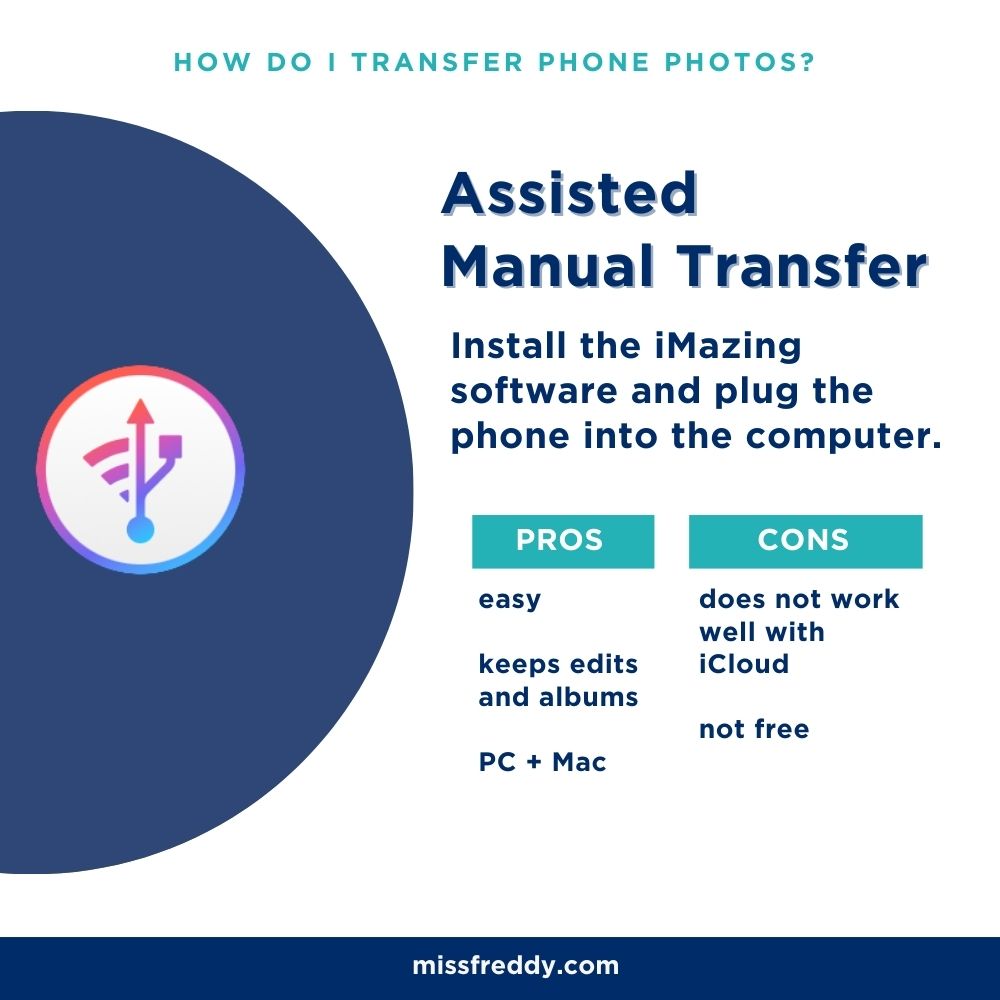
Option 2: The iMazing Program (available on both Mac and PC).
————-
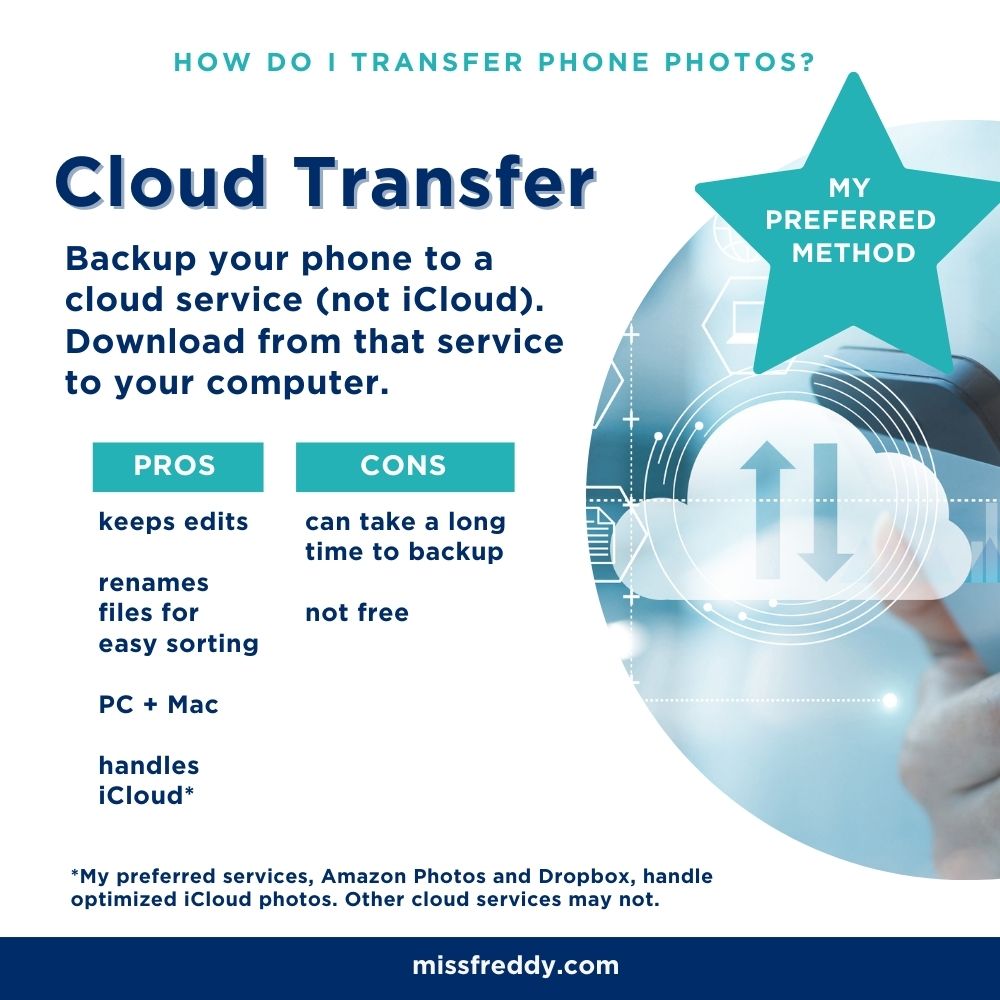
Option 3: Cloud Transfer (my preferred method!)
Install the Amazon Photos or Dropbox App on your phone and allow it to backup your entire camera roll. Either one of these services make transfer to the computer much simpler than iCloud. Plus, they get the FULL-SIZE items backed up even if iCloud has optimized them on your phone!
————-
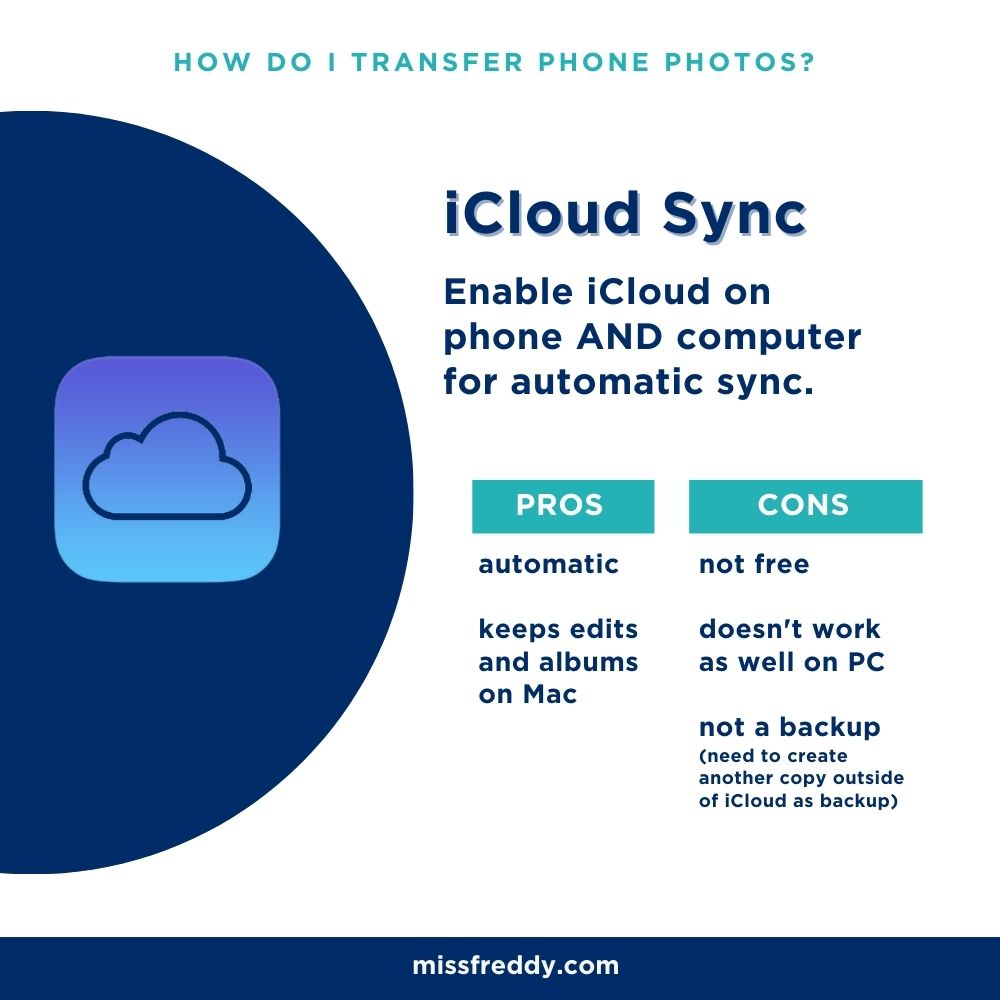
Option 4: iCloud Sync
If you’re a Mac user, the whole point of iCloud is to seamlessly sync your photos across devices. No manual transfer needed! When iCloud is enabled on the phone + the computer, the new photos you take show up in the Apple Photos program automatically!
However, for PC users it’s not so simple (the iCloud for Windows program is terrible). Option 2, 3 or 5 are much better for PC users!
————-
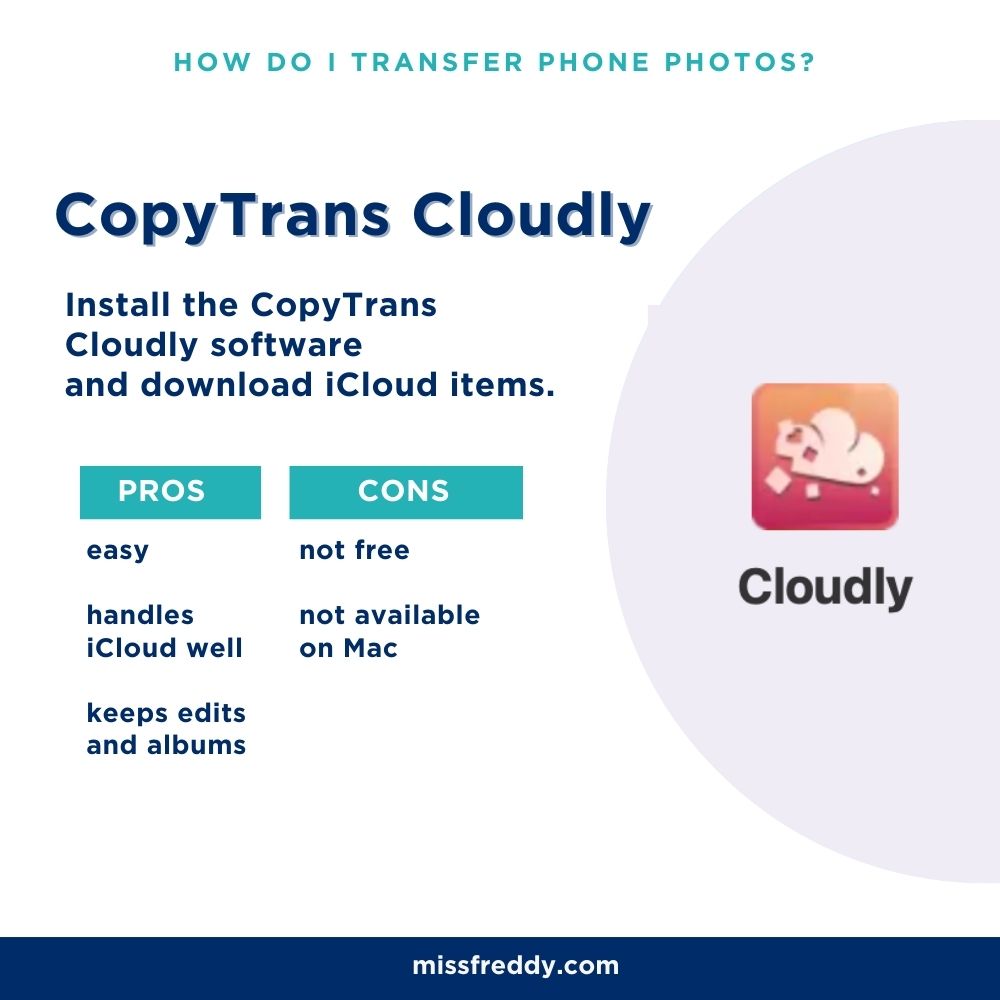
Option 5: Copy Trans Cloudly
This program is the fastest (and simplest) method of transfer for PC users!
—————
Need more help?
My Backup Bootcamp course includes step-by-step video tutorials (for both Mac and PC!) to help you gather photos from ALL your sources, create one comprehensive photo hub, and establish a solid backup system. This self-paced course is the solution to your photo overwhelm… it’s time to ENJOY your photos again!