


You just inherited boxes of old family photos, and now they’re sitting in your closet silently guilt-tripping you every time you walk past. First things first: you don’t have to sort everything this weekend. What you DO need is a plan, so those boxes stop feeling like a house-sized to-do list and start feeling like a real, do-able project.
Let’s walk through it.
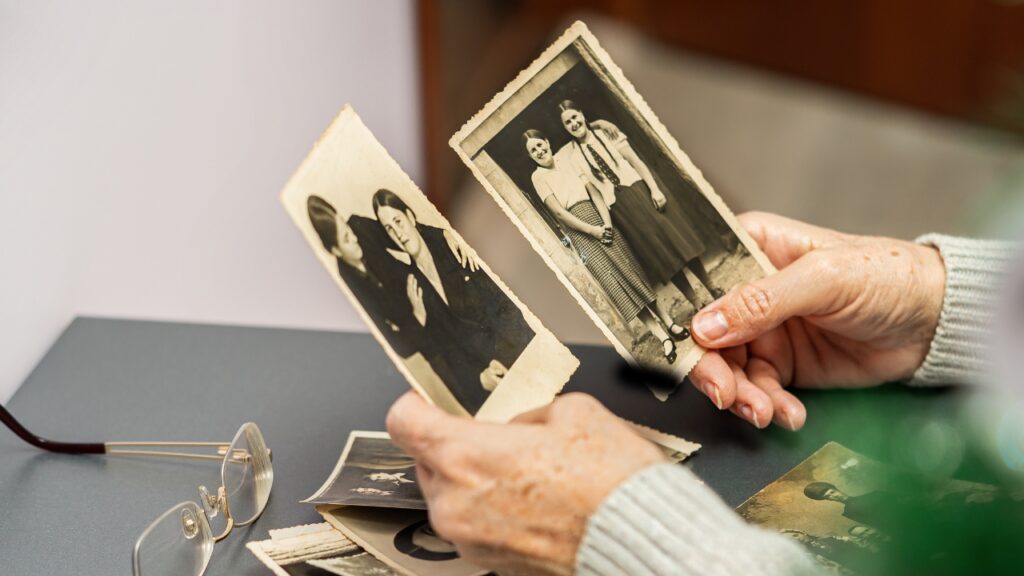
don’t panic (seriously)
Acknowledge how overwhelming it can feel to suddenly become responsible for someone else’s lifetime of memories. And the emotions that come with it.
Give yourself permission to take your time. These photos have already waited decades to be dealt with. They can wait a little longer while you get emotionally ready to tackle the project.
step 1: get them somewhere safe
Before you do anything else, get the boxes out of danger. That means out of:
- attics (too hot)
- garages (too humid, too many bugs)
- basements (flood risk, mold risk)
Move them to an interior closet, a spare bedroom, or under a bed. Somewhere climate-controlled and boring. You’re not organizing yet. You’re just making sure nothing gets worse while you wait to start the project.
step 2: do a quick review (this part shrinks the project considerably)
This is my favorite step, because it’s where the project stops feeling impossible. You’re going to do a fast pass through the boxes and make quick decisions about whether to keep or toss. Separate documents or non-photo items into their own pile.
This is your time to toss the doubles (or triples!), blurry or terrible photos, photos without people where you don’t understand the context, etc. When I did my own family collection, over 50% of what was in the boxes wasn’t worth keeping or digitizing. Half. Gone. The project got SO much smaller, and the photos that remained actually felt meaningful because they weren’t buried under 20 blurry shots of somebody’s thumb (that someone paid to develop and therefore felt required to keep?).
Don’t overthink this pass. If you’re not sure, keep it. The point is to get the obvious trash out of the way.
step 3: sort into high-level categories
Here’s where people get stuck: they try to sort hyper-specifically by person, by year, and by event all at once, and their dining room table becomes a photo minefield they can’t clean up for weeks.
Don’t do that. At this stage, you only need high-level buckets. Something like:
- by decade (60s, 70s, 80s, 90s)
- by life stage (childhood, high school, early marriage, kids)
- by city if your family moved a lot
- by generation if you inherited multiple families’ worth (grandparents, parents, you)
These buckets exist to give some basic structure to the project and provide clear stop and start points on the next step. “I’m going to digitize the 1970s box today” is a real, concrete task. “I’m going to digitize all of grandma’s photos” is a task that feels too big to begin.
The finer sorting (by person, exact year, event, etc) is SO much easier after digitizing, because you can drag and drop and search instead of shuffling paper around.
step 4: digitize (DIY or hire it out)
Now you actually turn the piles into files. You have two real options:
DIY. You buy or borrow a scanner, set up a system, and work through the boxes at your own pace. This is the right choice if you have time and patience. It’s also cheaper up front, though it costs you hours.
Hire a professional. You ship the boxes (or hand them off), and someone else does the scanning. This is the right choice if you’re short on time or if you know yourself and know the boxes will sit in that closet for five years if you don’t hand them off.
There’s no wrong answer. This blog post walks through some considerations to help you make this decision.
step 5: organize and back up
Once your photos are digitized, they need a real home and two backup copies.
I recommend importing your digital photos into a photo service with smart search and facial recognition, like Apple Photos or Google Photos. These tools can automatically recognize things like dogs, soccer, birthdays, and other subjects, making it much easier to find specific photos later. You can also create more specific albums if you want to organize by person, event, year, or anything else.
For your two backup copies, keep it simple. External hard drives are a great option, or you can create a copy on a flash drive to give to another family member. The goal is to make sure your family’s memories don’t exist in just one place.
step 6: decide what to keep (physically)
Once your photos are safely digitized and backed up, you get to decide what happens to the original prints.
You have my permission to do whatever feels right for you. Keep the originals if they’re meaningful to you, if you love having something tangible, or if you simply don’t feel ready to let them go. Toss them if you’ve made peace with keeping the memories digitally and don’t want the physical clutter.
There’s no “right” answer here. Keep them. Toss them. Keep some and toss some. It’s your family, your memories, and your decision.
step 7: actually enjoy them
This is the whole point. Digitizing is the initial finish line… now comes the fun stuff.
Maybe that looks like:
- A photo book of the highlights from each side of the family
- A shared album with siblings and cousins
- A slideshow at the next family gathering
- A collection of favorites for the next generation
These photos have been sitting in boxes long enough. Now it’s time to actually use them, share them, and enjoy the memories they hold.
Ready to Get Those Photos Out of the Boxes?
You don’t have to tackle this project alone or figure it all out yourself.
My Scanning & Digitization Services can help you turn boxes of old photos, slides, and other family memories into organized digital files you can actually enjoy.
Prefer to DIY? My Organizing Old Photos Course walks you through the process step-by-step so you can digitize and organize your family photos yourself.
Now… go open one box!