the story
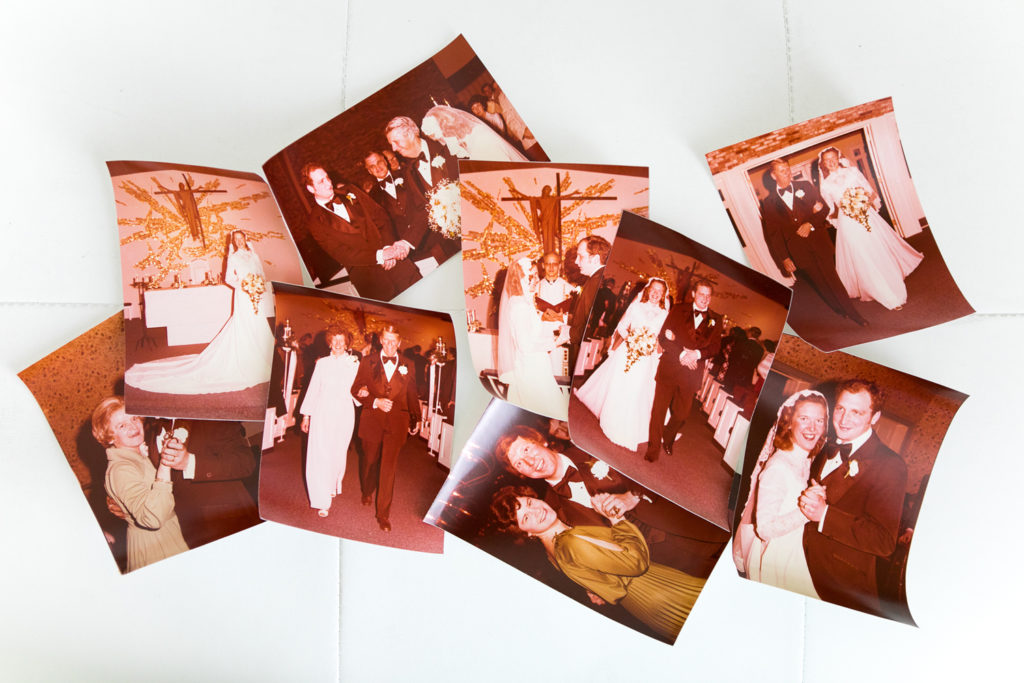
When I was planning my wedding, I remember my mom sharing that her biggest regret from her own wedding was using the cheapest photographer. Her wedding photos turned pink within a few years of their wedding and she’s never had an album she was proud to display. Fast forward to last year, when the album was damaged in a flood… she was going to throw it in the trash since the photos had always been ruined anyway. I asked if I could take the album and work on it instead.

the project
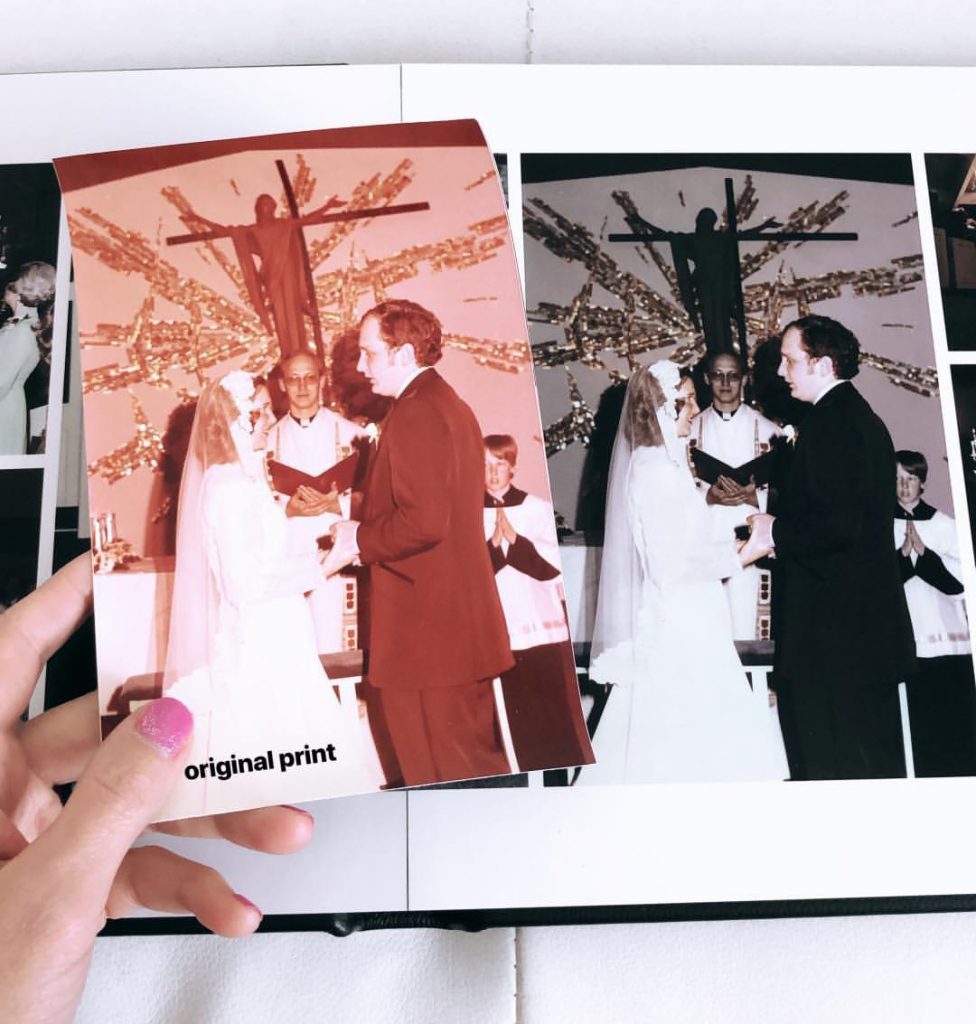
- First, I removed the old prints (shown above) from the water damaged album.
- Next, I scanned the prints on my Epson FF640 high speed scanner. I enabled the automatic color restoration (which did remove some of the pink tones, but didn’t bring back the vibrant colors that had faded).
- I manually restored the colors of each digital photo in Adobe Photoshop. First I pulled down the red tones even more in order to make the tuxedos appear black and not red. Then, I ‘painted’ each of the colors back into the file. I focused on the skin, lips, and dresses in each photo (scroll down to the end of this post for some before + afters).
- After color correcting all of the files, I custom-designed album pages using the Album Stomp software. I created 10 page spreads (20 total pages).
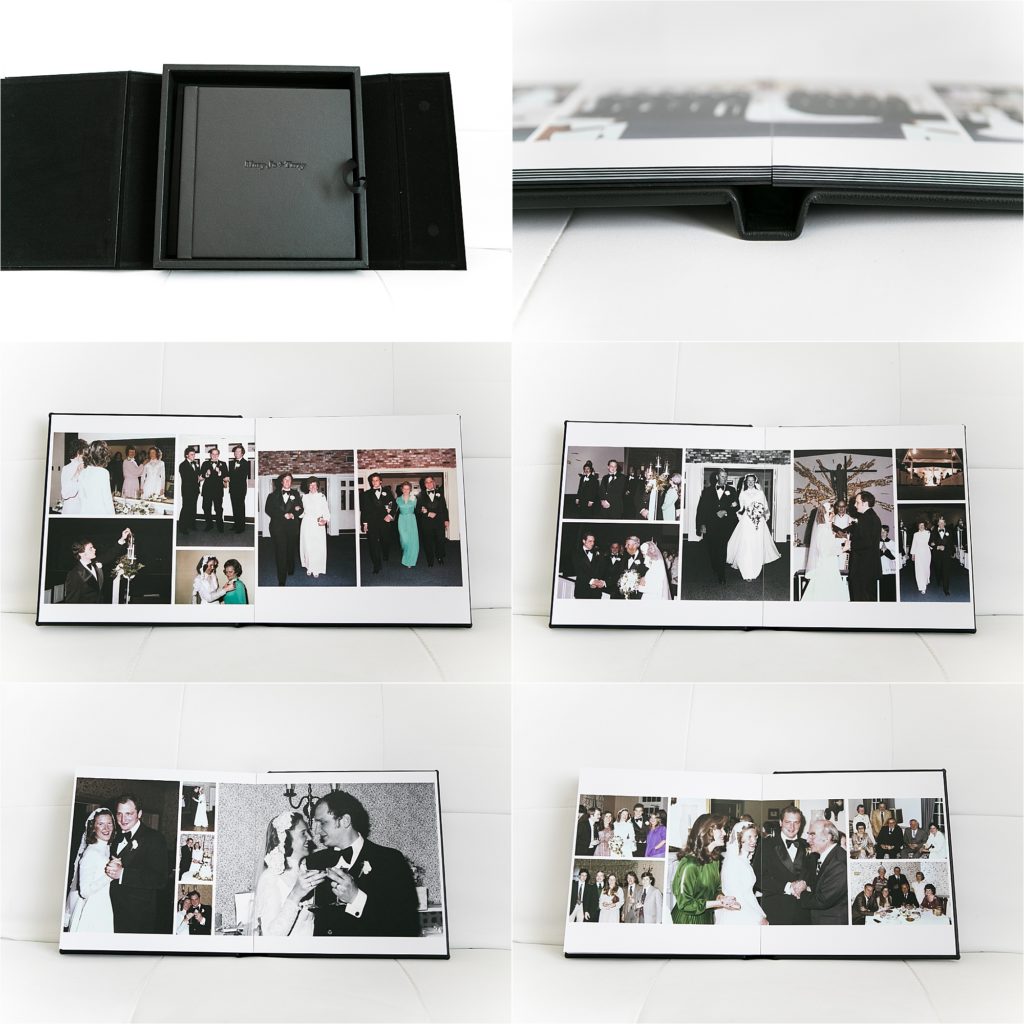
- Finally, I ordered the final 10×10 album from Madera Books, a very high-end album vendor I used when I was a wedding photographer. I LOVE their leather albums.
Here’s how the finished album looks:

I’m so happy with the way the project turned out… and my parents were so surprised when I gave them the album for their 40th wedding anniversary!
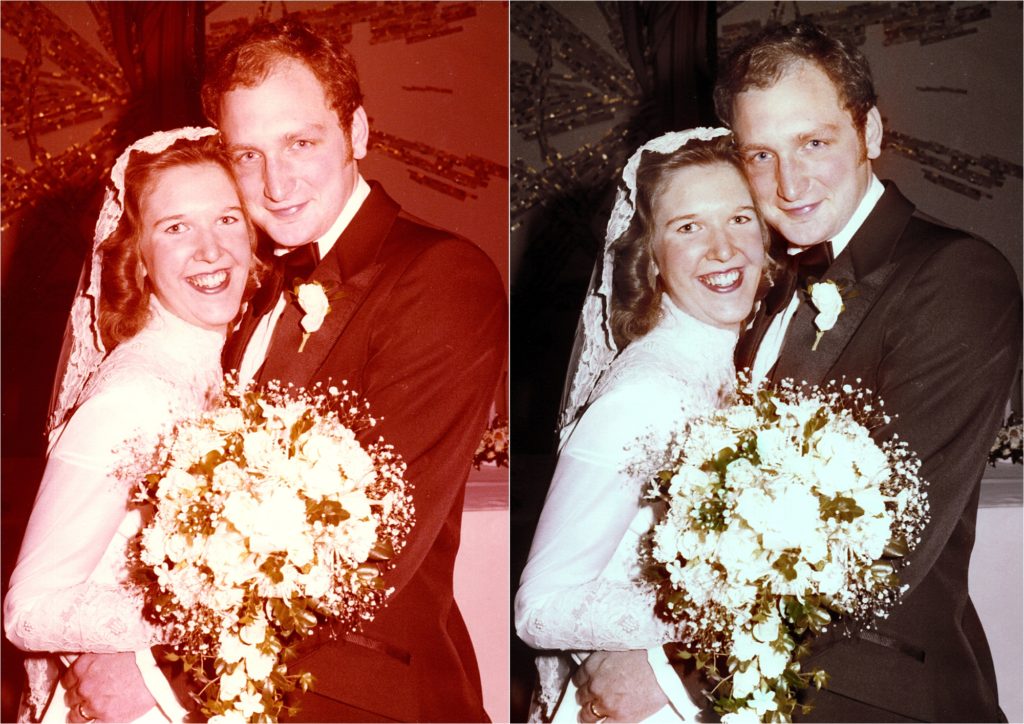
Photo Restoration: Before and After
Just for fun… here’s a closer look at the before + after edits I did in Photoshop.


If you want to learn more about scanning YOUR old photos, check out my Organizing Old Photos online class! (Don’t forget you can find a $10 off coupon code in my Backup Bootcamp class.) Or if you’d like help bringing damaged photos back to life, learn more about my Photo Restoration services!