

For Jill’s third birthday, she got a BIG GIRL bed room! As I was planning her room, I struggled to find decor options that would grow with her for years to come. There were lots of nursery decor ideas and plenty of tween-type themes, but since decorating isn’t my strong suit, I wanted a solution that would last for YEARS. Enter my love for USING YOUR PHOTOS and this fun photo display wall was born!
Another important note: Power tools are also NOT my strong suit so you can trust that this DIY tutorial is SIMPLE. If I can do it, I promise anyone can handle it!
how I made Jill’s photo display wall
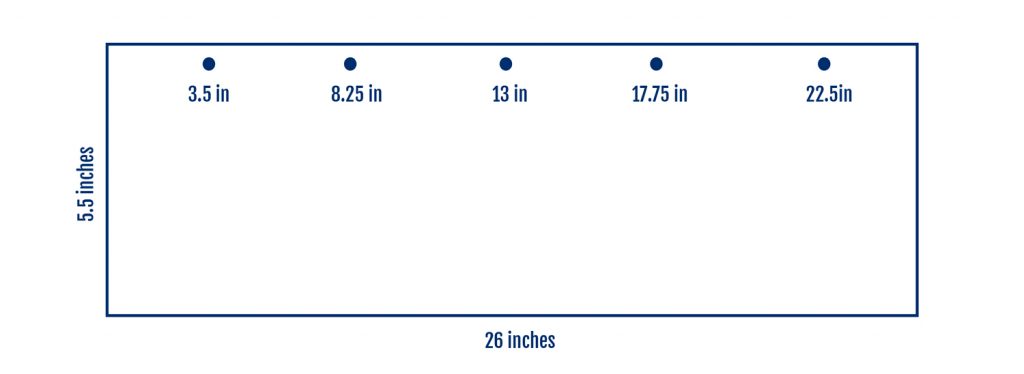
- I purchased boards from Home Depot. They cut six boards for me that were 5.5 in x 26 in. (Like I said, I don’t do power tools so I left the cutting to the experts!)
- I applied two coats of white spray paint.
- After the boards were dry, I placed five nails in each board at 3.5in, 8.25in, 13in, 17.75in and 22.5in.
- On the back side, I nailed in D-rings at 4″ from the side of the board and 1.5″ from the top of the board.
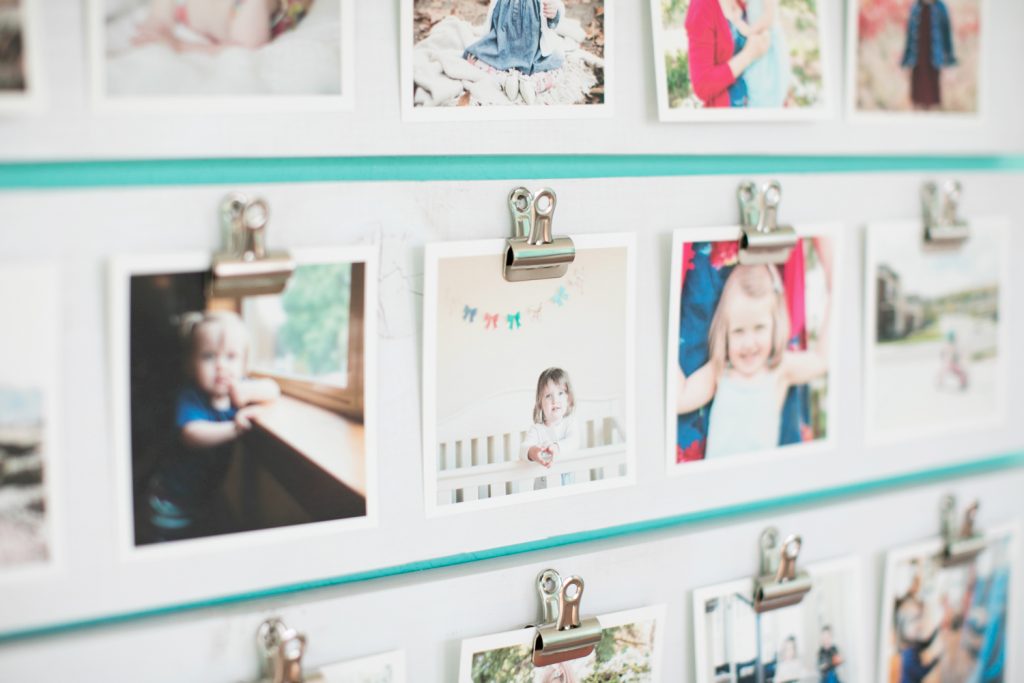
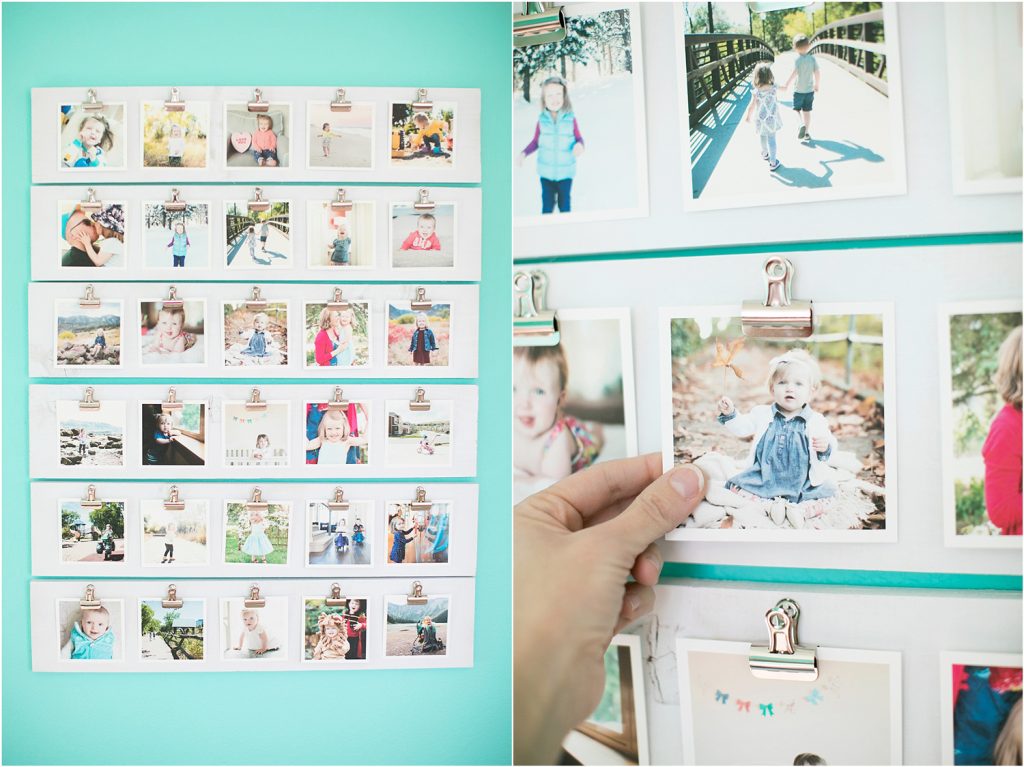
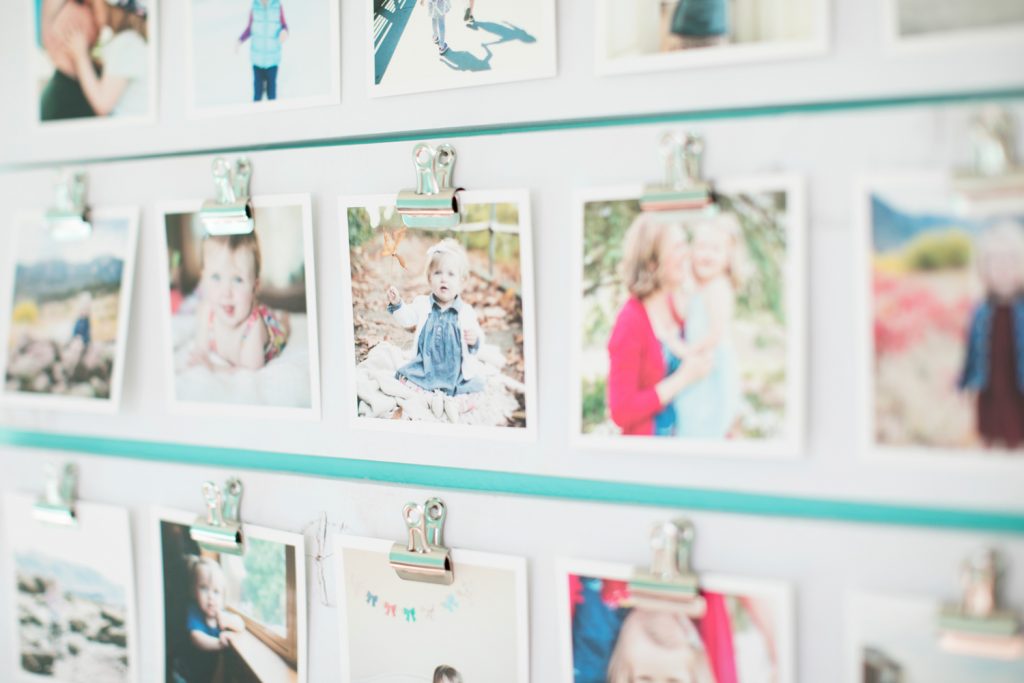
- I hung up the photos (square prints from Artifact Uprising) using these bulldog clips.
That’s it! I will admit that hanging the six boards EVENLY SPACED and LEVEL was probably the most challenging part of this project. Just remember my favorite saying that applies to everything: Done is better than perfect, friends! My boards aren’t hung perfectly, but boy do I LOVE this photo wall!
I envision Jill swapping out the prints over the years to include photos with her besties. I think it’s definitely a piece that will weather the years!
SaveSave


