

If you are an iPhone, iPad, Mac user, Apple Notes is a great way to create checklists or quickly take note of something. The app can do so much more than you might think!
For me, it’s my entire brain… it holds everything I need! To help you realize the potential of Apple Notes, here are 5 ways that will change the way you use it moving forward.
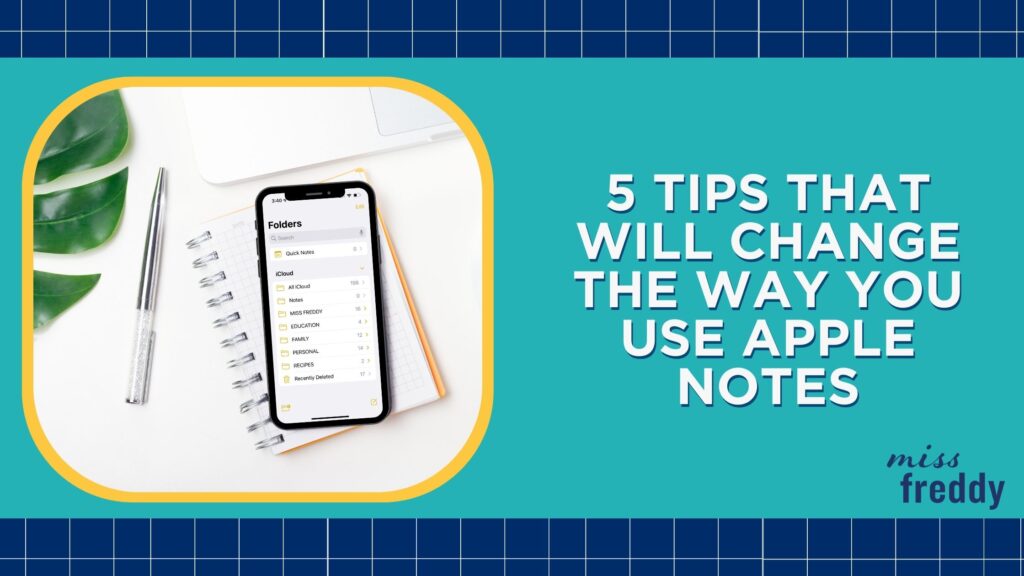
1. Stay organized with Apple Notes
Most people have hundreds, or even thousands of notes saved and it can be very difficult to find what you need.
Some examples of what I have saved in my Apple Notes are photos, screenshots, hyperlinks, text, checklists and scanned documents. In order for me to be able to access these items quickly, I create folders.
I recommend creating 5-10 main category folders and then creating subcategory folders within them to organize your notes.
An example of main category folders and subcategory folders are:
- Main Category: Family
- Subcategory: Kids
- Subcategory: School
- Subcategory: Trips
- Subcategory: Medical
- Main Category: Personal
- Subcategory: Affirmations
- Subcategory: Funny
- Subcategory: Good Feedback
- Subcategory: Recipes
- Subcategory: Movies/TV Shows
- Main Category: Education
- Subcategory: Courses
- Subcategory: Books
- Subcategory: Podcasts
Another option is to create smart folders which is a feature that came with the recent iOS update. Smart folders use hashtags to make it easier to find something. Add #kids, #school, #medical to your Apple Notes to help you find what you are looking for.
An additional tip for Mac users:
I recommend organizing your Apple Notes on your desktop. It’s quicker to create folders on the desktop app and drag & drop your notes with ease. Ensure that Apple Notes is synced with iCloud to allow you to view your notes on your iPhone and Mac.
You can populate your notes on your computer when you are on your desktop. For example, if you are looking for recipes on Pinterest, upload the link onto your note when you are on your desktop. Once you are in the kitchen and ready to cook, you will be able to access the links with your iPhone.
2. Apple Notes has a powerful search feature
Don’t sleep on the search feature that comes with Apple Notes!
If you don’t yet have a folder system in place to help you find the note you need, use the search feature. The search feature not only finds the text that you are looking for, but it also finds text in photos and screenshots!
For example, I love cider and I take photos of different ciders I have tasted to help me find it at my local liquor store. There was a cider that I had taken a photo of when I was at the Cider Days Festival, but I had forgotten the name. I knew the word ‘cider’ was on the can, so I searched the word cider on Apple Notes and the word in the image was detected.
3. Scan documents in Apple Notes
Apple Notes has a document scanner built-in. Create a new note, click on the small camera icon and select ‘Scan Documents’.
This will open up the camera app where you can do an overhead scan of a document in front of you. This will be saved to the app as a PDF file which can then be shared with others via email.
This feature can be used for things such as sending a medical note to your kids’ school or sending a signed document to your lawyer.
4. Save screenshots in Apple Notes
Have you considered saving screenshots in Apple Notes to prevent your camera roll from getting cluttered? There is a way that you can have your camera roll strictly dedicated to photos and videos, while all of your screenshots live in Apple Notes.
When you screenshot a recipe, a funny parenting meme or something inspiring, save it in Apple Notes! There is a way to do it so that the screenshot never ends up in your camera roll but directly gets saved within Apple Notes.
Here is how to do it:
- Take a screenshot and the screenshot management window will pop up.
- Select the upwards facing arrow in the top right corner.
- Scroll and find the Apple Notes icon.
- Select which folder to save it to.
- Once you have clicked save, click on the trash can on the top right and the screenshot will be deleted.

If you prefer to have a visual tutorial, this quick trick can be viewed in my “iPhone Tips” highlight on Instagram.
5. Share your Apple Notes with other users
Save time and share your notes or folders with other iPhone and iCloud users! When an Apple Note is created, it can be shared with other iPhone and iCloud users to view or edit!
Let’s say you have a grocery list created in your Apple Notes and your partner is going to the grocery store to buy the items that you need. Share the note with your partner and update the list as you remember your shopping list. This will allow you to add or remove items while they make their way to the store.
If you go one step further and give them editing access, they will be able to update the note on their phone too by ticking off the items they have managed to find.
Bonus:
The latest iOS update came with a live text-grab feature for Apple Notes, which now allows you to scan text and extract the text into a written note.
For example, if you use the live text-grab feature to scan a page from a book, a photo won’t be taken. Instead, it will scan the words on the page and you will see the text copied onto your note.
Apple Notes is an incredible app that allows me to stay organized and keep all the important things I need in one place. Some of the tips and techniques above may be transferred over to other notes apps, such as Google Keep, Evernote, OneNote, etc.
Want more iPhone Tips like this? Check out my iPhone User Guide eBook!
Need more help organizing digital files and backing up your notes? Check out my Organizing Digital Files Fast Class!


