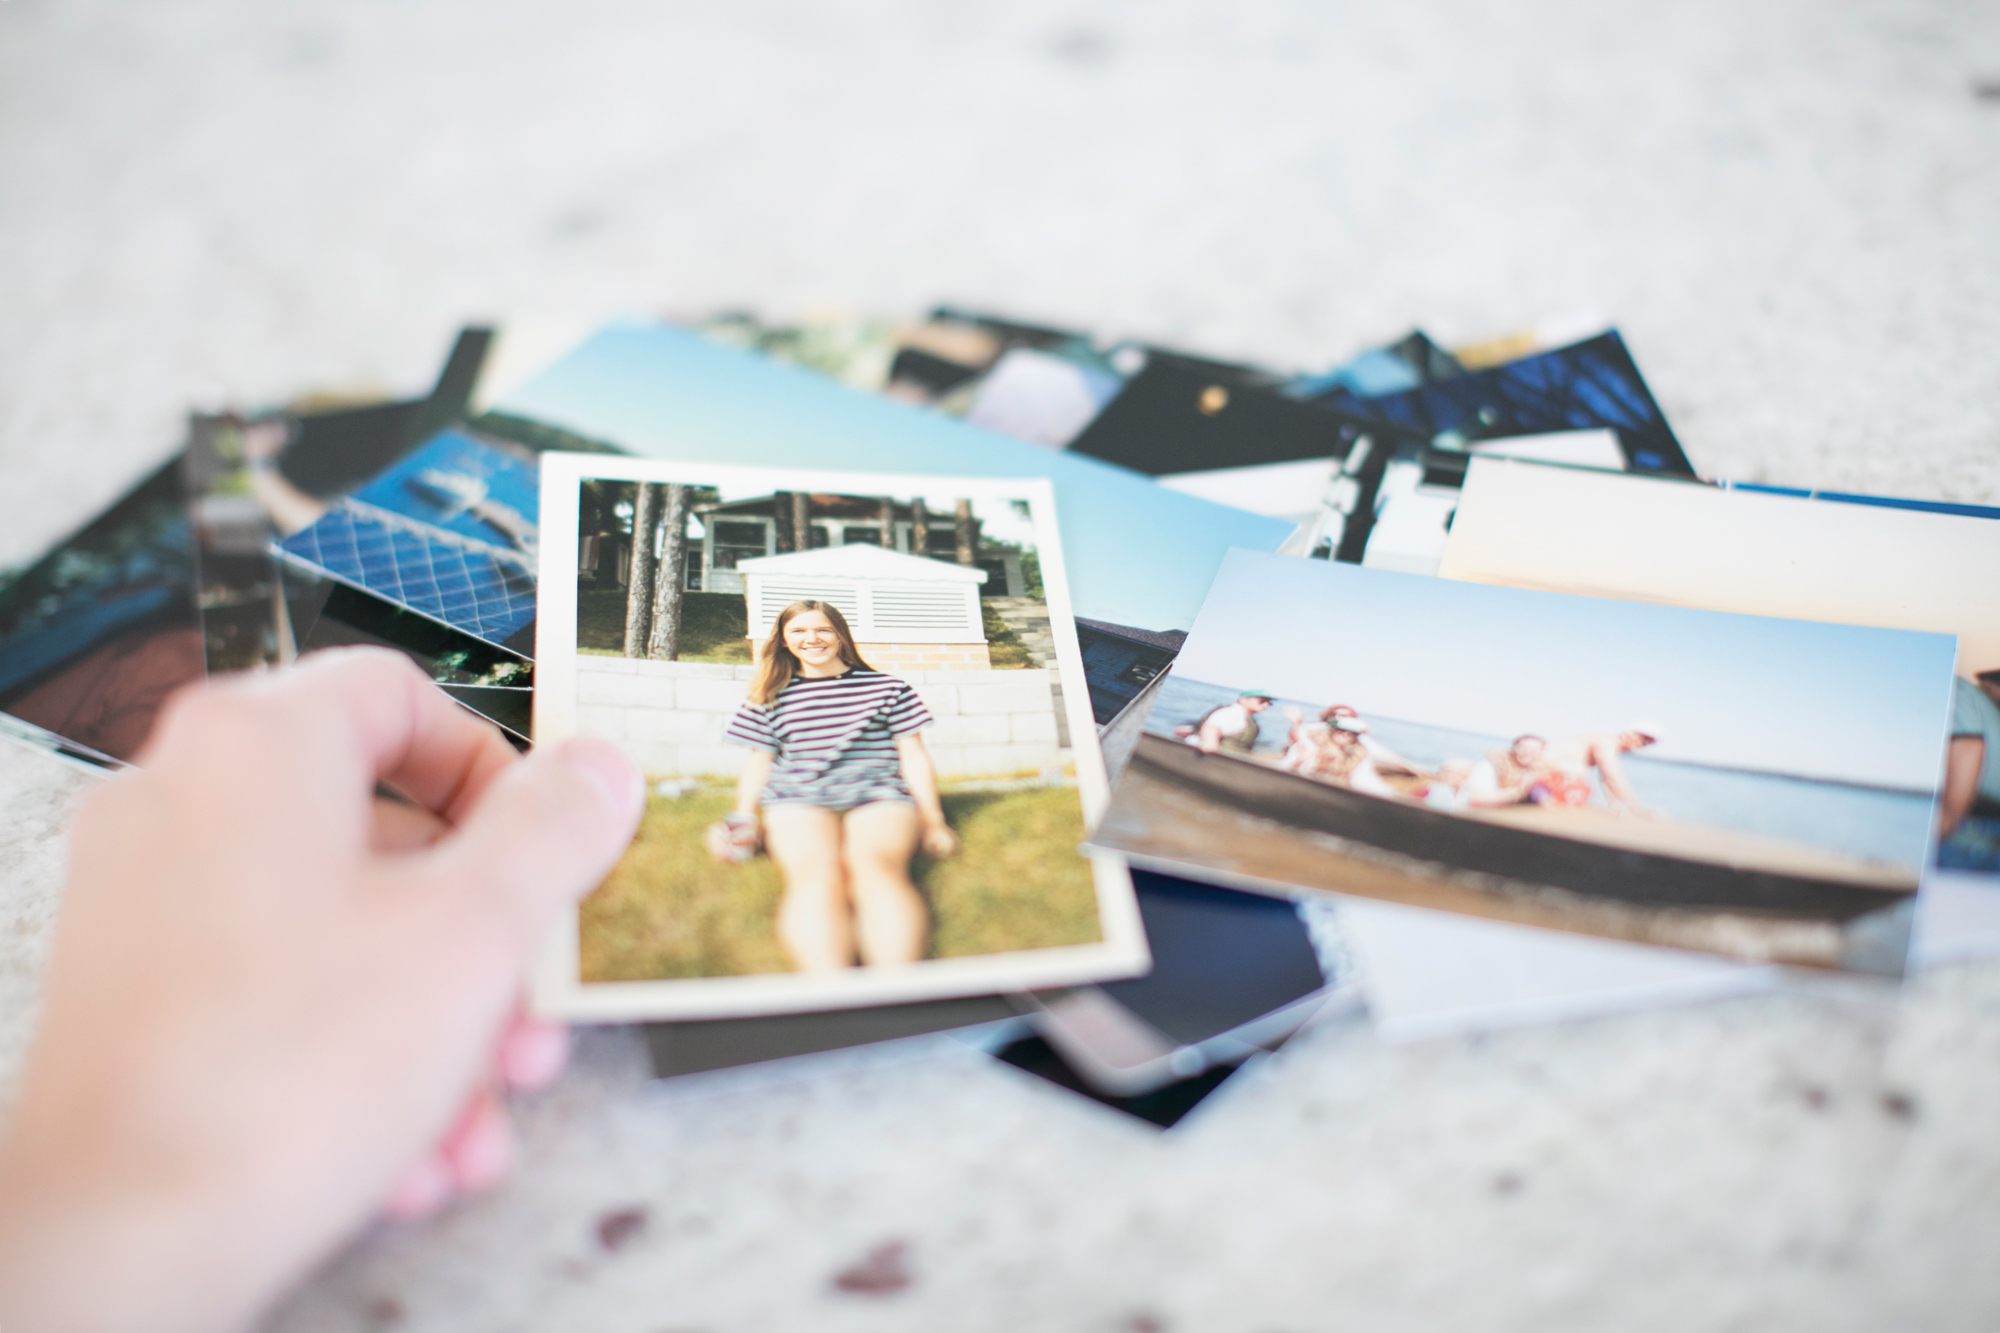
Earlier this month, I released my Backup Bootcamp that walked through my 3 simple steps for organizing + backing up your DIGITAL photos. I kept that course focused strictly on digital photos to prevent any additional overwhelm surrounding the process (aren’t we overwhelmed enough?). I have lots of thoughts about preserving your PHYSICAL photos though so I wanted to share this blog post with tips for scanning physical photos to help those who have already completed bootcamp and may be looking for a next step.
In this post I’ll be sharing my scanner recommendations, outsourcing options, as well as my tips for making the process easier (that I’ve learned from scanning tens of thousands of photos in the last 2 years). So, let’s jump in!

Do-It-Yourself Scanner Recommendations
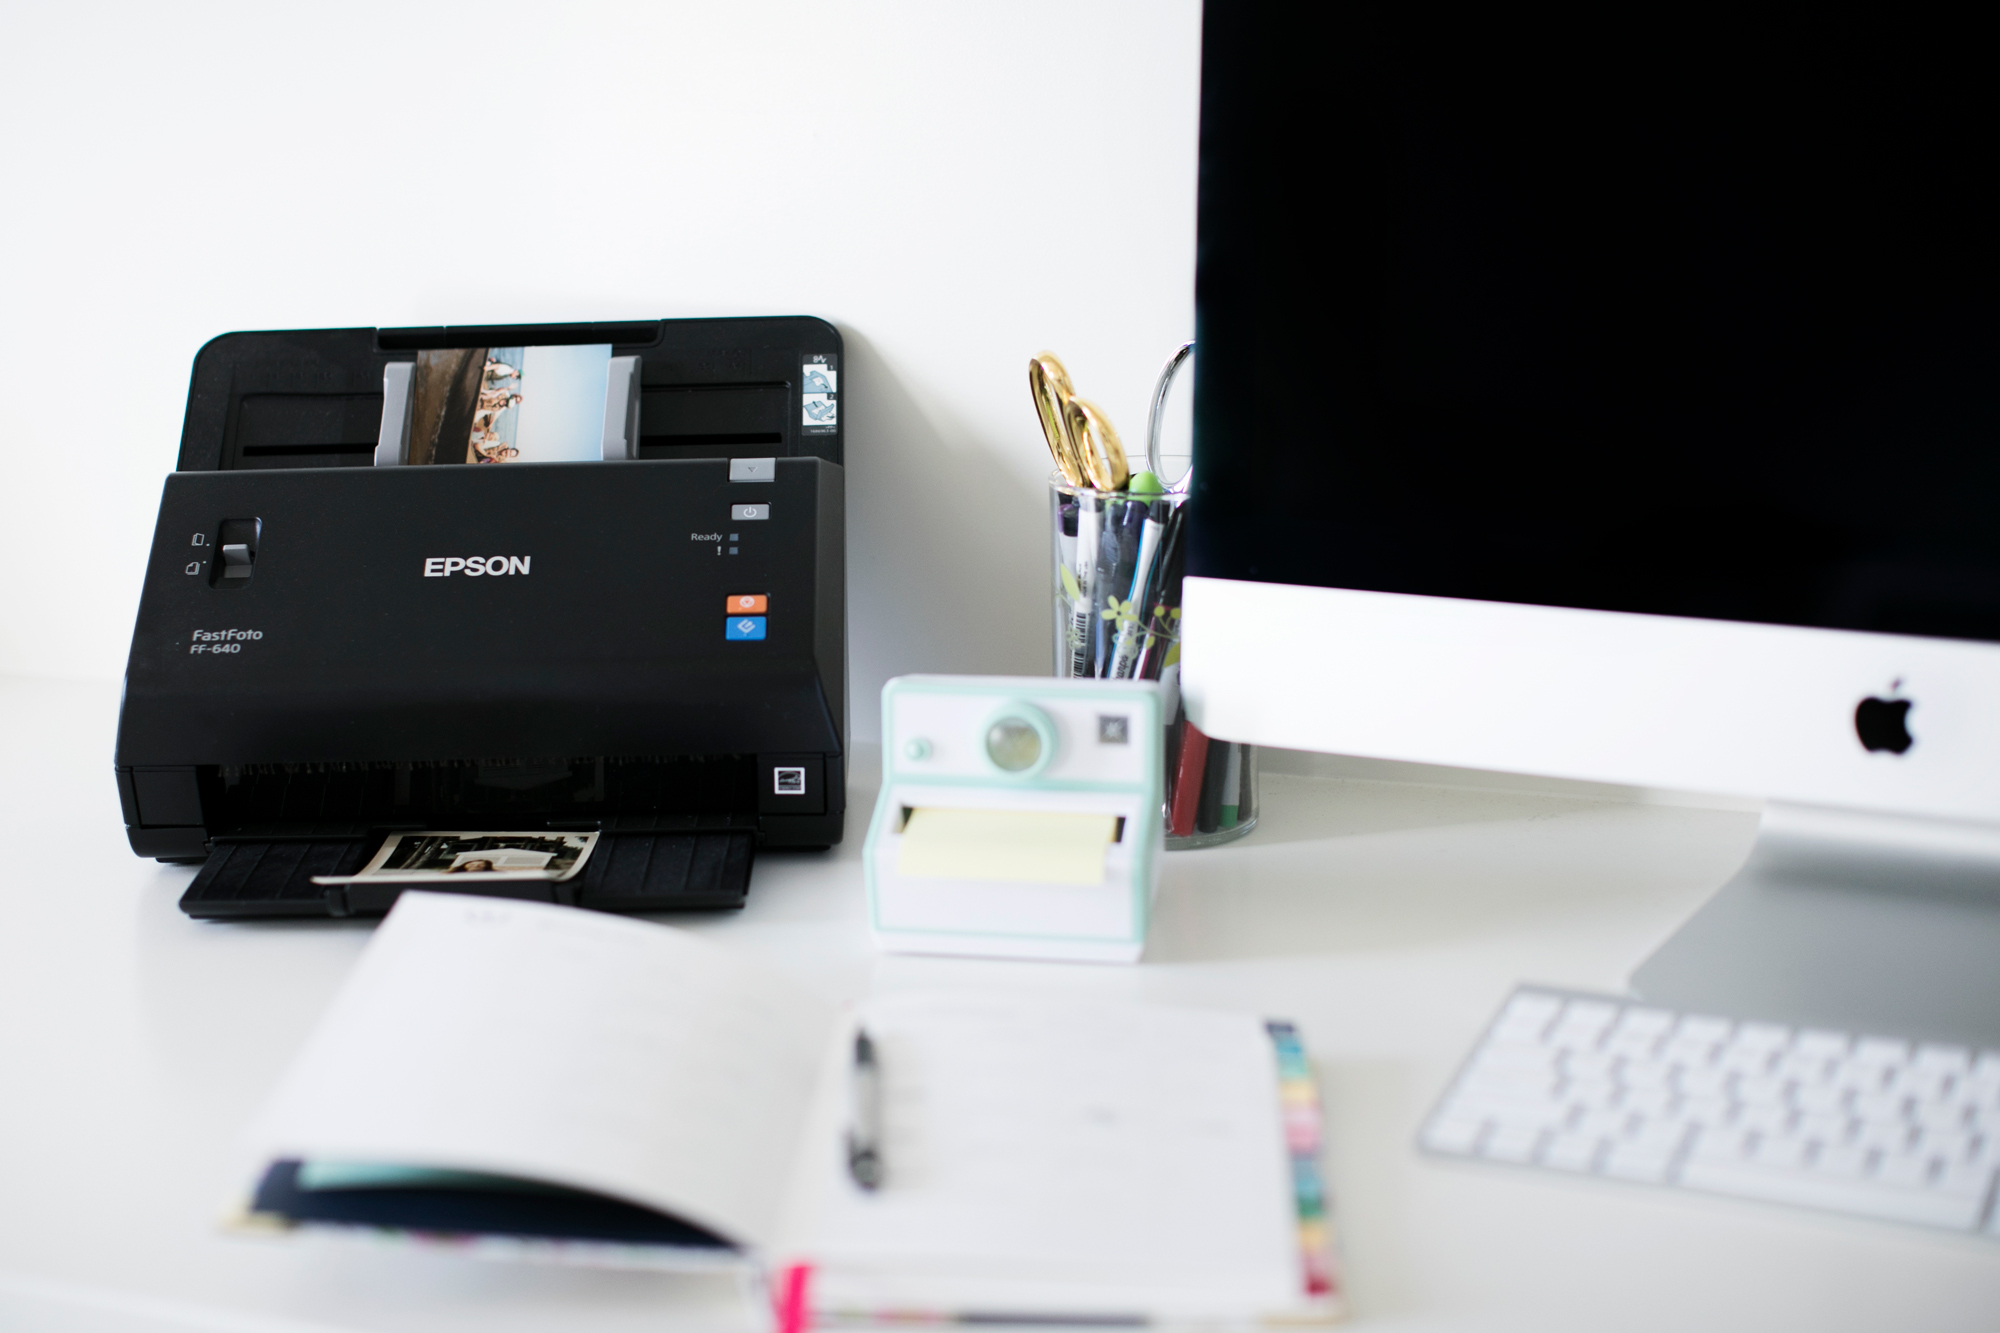
Confession: I have six photo scanners in my office right now and another two on my wishlist. I feel that qualifies me to share my recommendations because I’ve used a LOT of scanners in order to learn what I love! The scanner I recommend above all others (for personal projects) is the Epson FastFoto640 (pictured above on my desk). This scanner is an investment ($650 on amazon), but it’s FAST. If you have a large amount of photos to scan, you’ll need a high-speed scanner versus a flatbed scanner. The reason I love the FastFoto is that it’s super simple to use and includes a software that automatically color enhances your old photos (and does a really nice job)! If the price tag is scaring you away, consider asking extended family members to go in on this together and take turns with the scanner.
Not ready for a $650 investment on this project? The Flip-Pal ($150 on amazon) is the next scanner I’d recommend. But, know that this will take you MUCH, MUCH longer. It’s essentially a mobile flatbed scanner so the benefit is that you don’t need to be tethered to your computer- you can do this on vacation, in front of the TV, wherever you want. Another cool feature is that you can set it on top of an album page and scan photos without removing them from the album. Before making your purchase decision, really consider the value of your time- if you have a lot of photos to scan the Epson FastFoto will pay for itself by saving HOURS and HOURS over the Flip-Pal.
Finally, I want to share my preferred scanner if you’re considering becoming a Professional Photo Organizer- the Kodak PS80. It’s a hard price tag to swallow (around $2,000), but if you think you’ll be scanning photos commercially, you need to make the investment. I began with the Epson FastFoto and it wore out after 2 large client projects. Epson kindly replaced it, but it became clear that the Epson couldn’t handle the volume I needed (which is why I recommend the Epson for personal, not professional use). My favorite advantage of the PS80 over the FastFoto is you can set a stack of various-sized photos onto the scanner and it’ll quickly scan them all. On the FastFoto you need to create stacks that are purely one size (ie 5x7s together or 4x6s together)- this speeds things up significantly.
Scanning Oversized Photos or Scrapbook Pages
For scanning larger photos or 12×12 scrapbook pages, your options are more limited. For the highest possible quality, you can invest in an A3 flatbed scanner(you know, for the small price of $1200… yikes!). Often university libraries have these that you may be able to use.
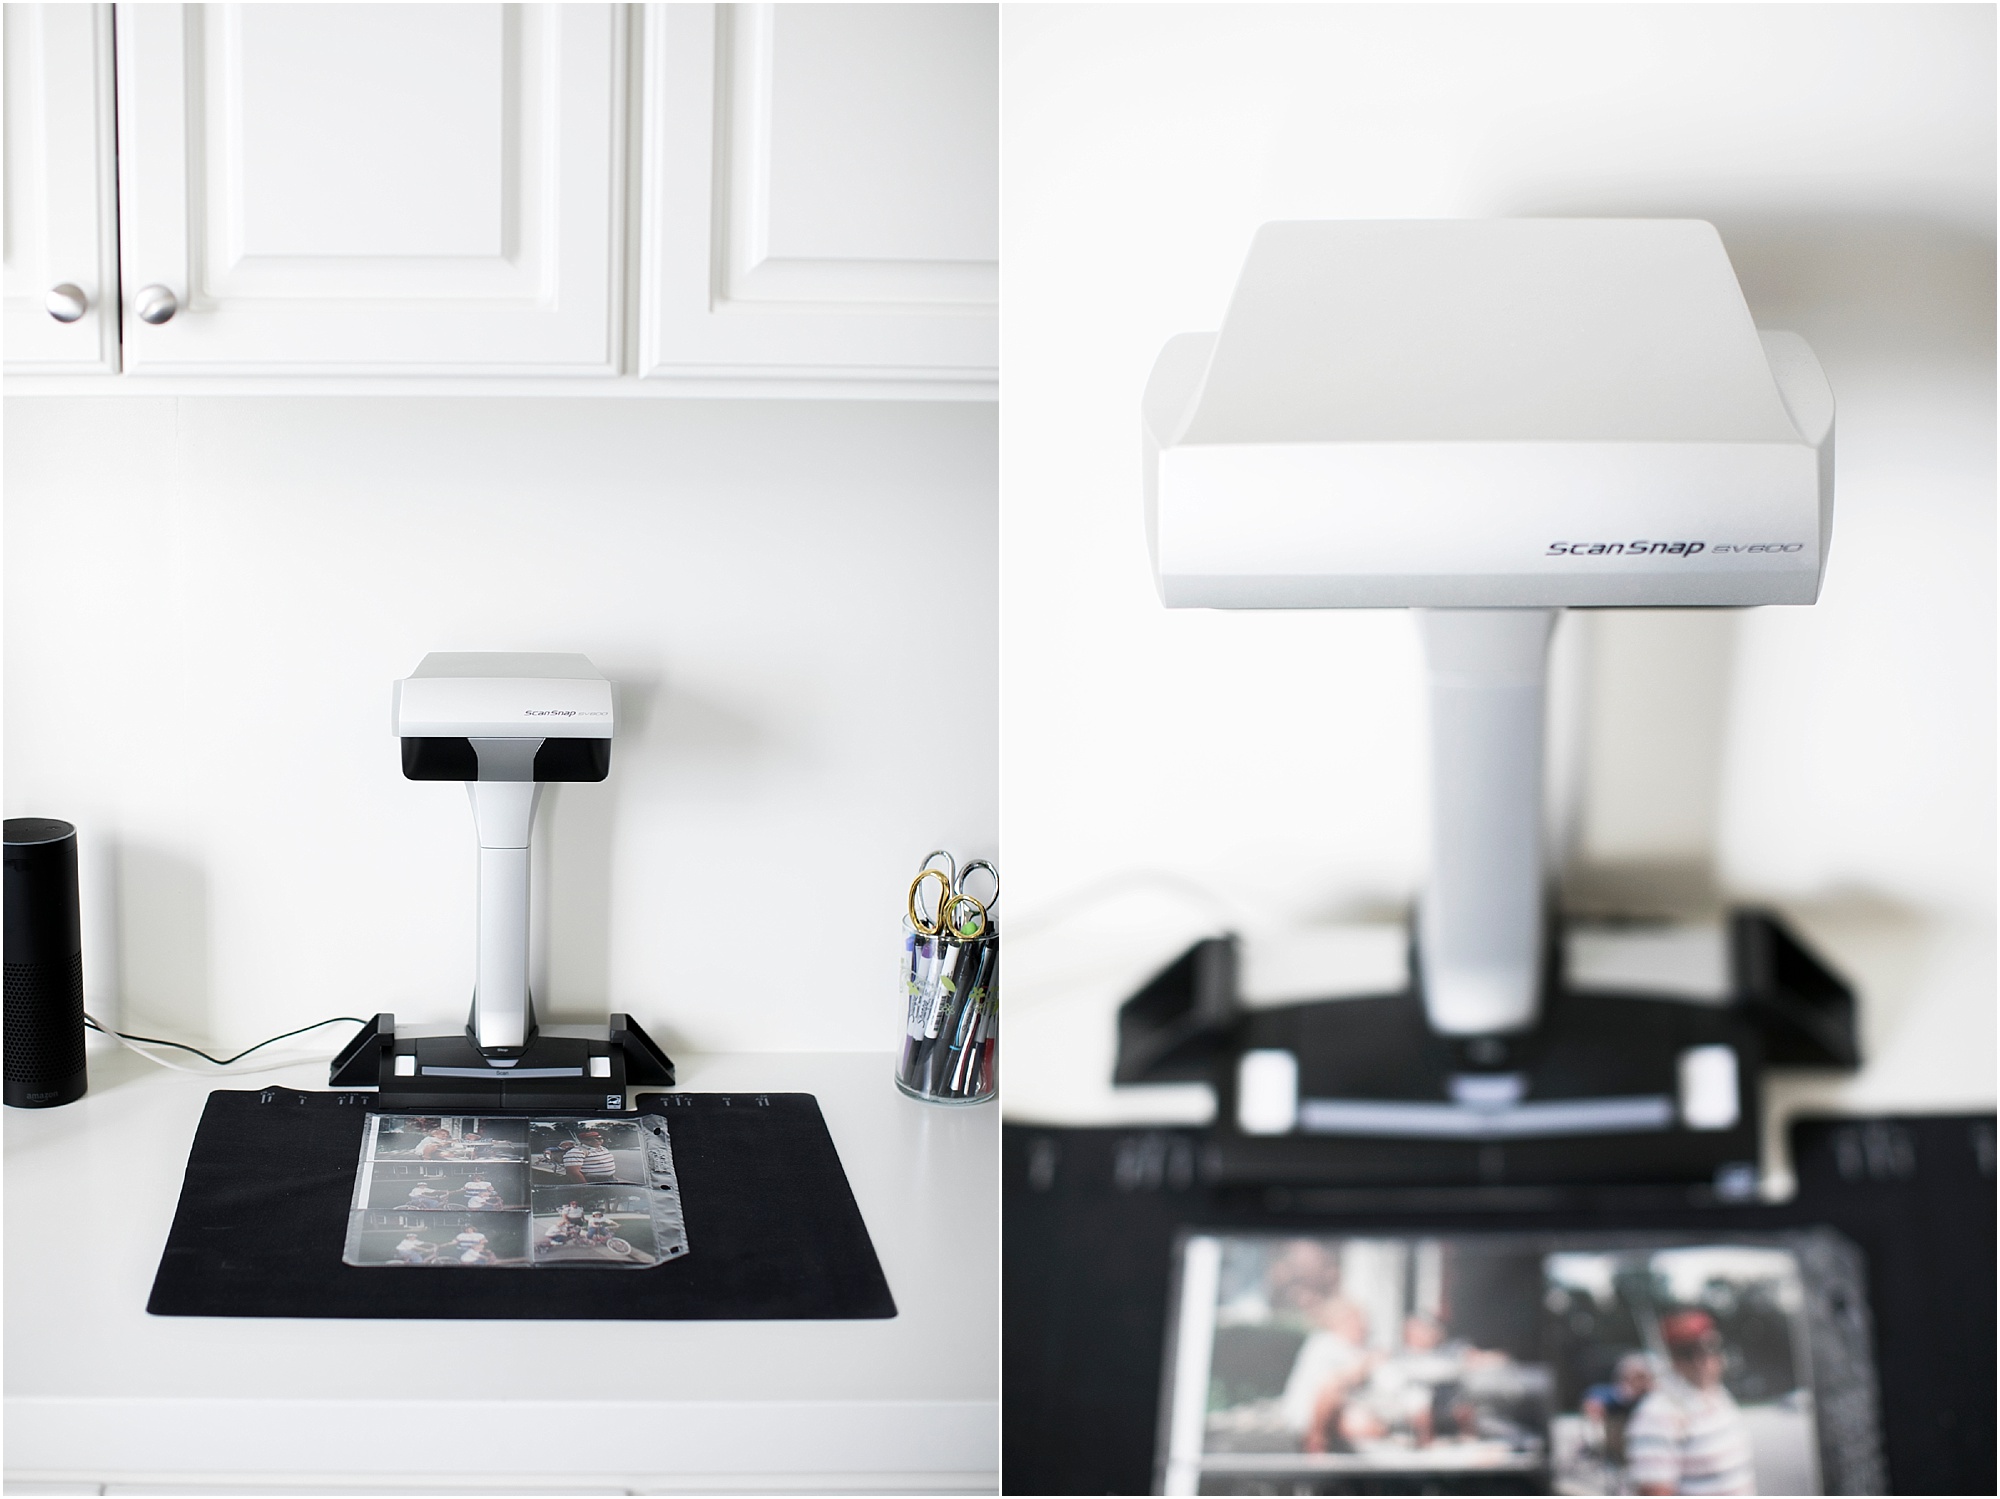
For a more reasonably priced option, I recommend the ScanSnap SV600(pictured above). But this is still a huge investment ($800). This is my preferred scrapbook scanner, but it’s important to note that it’s marketed as a document scanner so the scan quality of photos is lower than an A3 flatbed. In my experience, the page scans still turn out very well and this is what I use for my clients.
Not up for the investment? Ship your scrapbooks to me for scanning! If you’re comfortable shipping, I receive them, scan them, and return them along with a USB drive of your digital files. You can also add-on cloud backup for these digital files, if you wish! (Get more info about my scanning services!)
On-a-Budget Scanning Recommendations
If you don’t want to invest ANYTHING in a scanner, there are two scanning apps you can download for less than $1 and use on your smart phone. I don’t recommend this route for a high volume project because OH MY WORD this would take FOREVER, but for the price you can give these a test drive without much of a commitment.
The Photomyne App (available on iPhone and Android) is pretty nifty because you can scan a full photo album page and it’ll break the individual photos into unique files. That means you don’t even need to take your photos out of the albums for scanning! Very cool!
The PhotoScan App by Google is FREE and has some neat built-in anti-glare features (which is necessary when you’re not using a physical photo scanner) and directs you to take multiple photos of the same picture in order to generate a reasonably high-resolution output.
Outsourcing Options
If all this just sounds like too much. If it’s a project you’d rather just PAY SOMEONE ELSE to do, you have those options too! First of all, I accept photo scanning projects from all over the country! If you’re comfortable shipping your photos, I receive them, scan them, and return them along with a USB drive of your digital files. You can also add-on cloud backup for these digital files, if you wish! (Get more info about my scanning services!)
Another company I used, before I invested in my own photo scanners, was scanmyphotos.com. But, since my prices are competitive with theirs, I’d rather you ship your photos to me!
Tips for Scanning Physical Photos
Last year I scanned over 10k photos and learned a few efficiency tricks along the way to save your sanity! Here’s what I recommend for your big photo scanning project:
1) Set realistic goals and expectations. You’re taking on a big project! Before you even begin, try to be realistic in your expectations. I recommend breaking this project up over many days/weeks/months to prevent burn out.
2) Remove all photos from albums. If you have photos you want to KEEP inside your albums, you can use the oversized scanning methods I shared above, but for the most part, I remove photos from albums before scanning. Photo albums are usually deteriorating (they’re old!) and take up WAY TOO MUCH SPACE so once I remove the photos for scanning, I throw the albums away. My tip for album-removal is to flip on Netflix, pick a show that doesn’t require your full attention (my favorite is Friends) and get to work!
3) Sort into very high level categories. I like to sort the photos into high-level categories before I begin scanning. My preferred way is to create chronological categories that are REALLY big. Like ‘pre-kids’, ‘school aged years,’ ‘college years,’ etc. Another great option, if you moved a few times in your lifetime, is to break it up by hometown. Pick categories that are easy to visually identify in a split second so this process can be quick.
4) Get more specific with your organizing AFTER the photos are digitized. I prefer to do most of my photo sorting digitally AFTER the photos have been scanned because it’s easier to drag + drop. Many clients like to have folders for each child. This is easier to do after the scanning because when a photo contains TWO children, for example, you can copy and paste it into each child’s folder. My advice is to begin with high-level categories and after they’re complete (if you’re still motivated), you can continue to sort into smaller categories. Don’t bite off more than you can chew!
5) Take breaks. This is critical to avoid burnout. There’s nothing worse than starting the project and abandoning it because it’ll make this whole thing even MORE overwhelming. You can do this, friend! (and if you get started and realize this just is NOT your thing, ship your photos to me for scanning!)


