This year I’ve been devoting one week a month to a themed blog series, with daily blog posts. I’ve talked all about project life, shared some ‘wish someone told me sooner’ parenting advice, written about ways to preserve your memories/photos, revealed our favorite things in West Seattle, taught a few easy photo editing tips & celebrated my third birthday. This week, I’m sharing fun & easy ways to document childhood!
fun & easy ways to document childhood
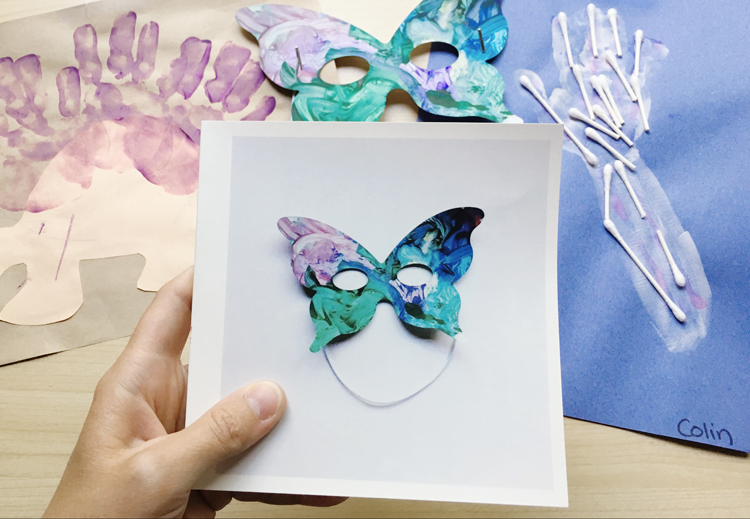
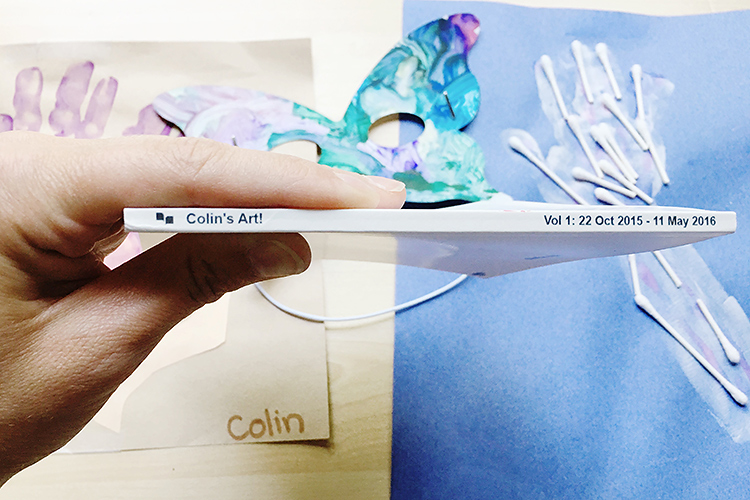
When Colin started preschool last fall, suddenly we were hit with a steady stream of adorable, yet overwhelming art projects. I’d hang a couple pieces on the fridge, send a few more to relatives, but then feel guilty throwing the rest in the trash. Instead, I started photographing the pieces and sharing them in a personal Instagram account where friends & family can see all of his art on display. Additionally, this can easily be turned into a printed book that’s much, much easier for us to store & admire!
preserving childhood artwork with chatbooks
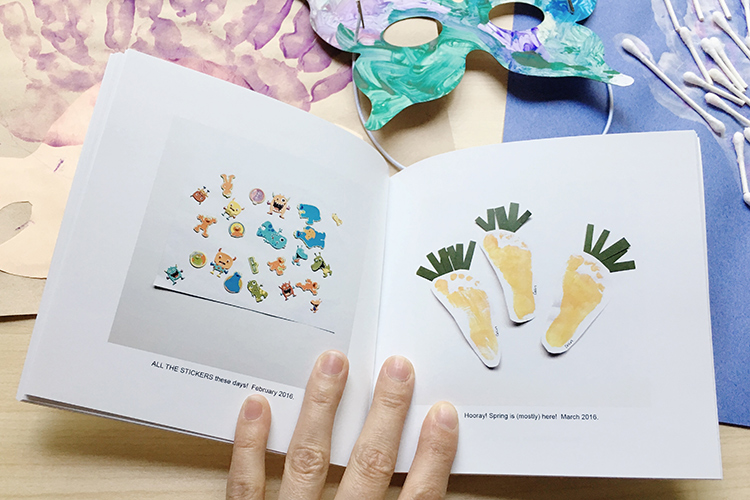
The process is pretty straight forward: 1) photograph artwork 2) share photo on Instagram and 3) sign up to get Chatbooks delivered automatically! A chatbook is a small, bound book that contains 60 photos and your captions from Instagram. You can customize the books easily within the Chatbooks app (remove certain photos or change captions) or keep it totally simple and let it automatically ship to your door every 60 photos!
Oh, and did I mention each Chatbook is only $8?! Yes! You can even order additional copies for the grandmas!
tips for photographing your child’s artwork
Now that you’re up-to-speed on the very complicated process (hah), I have a couple tips to share for photographing the artwork.
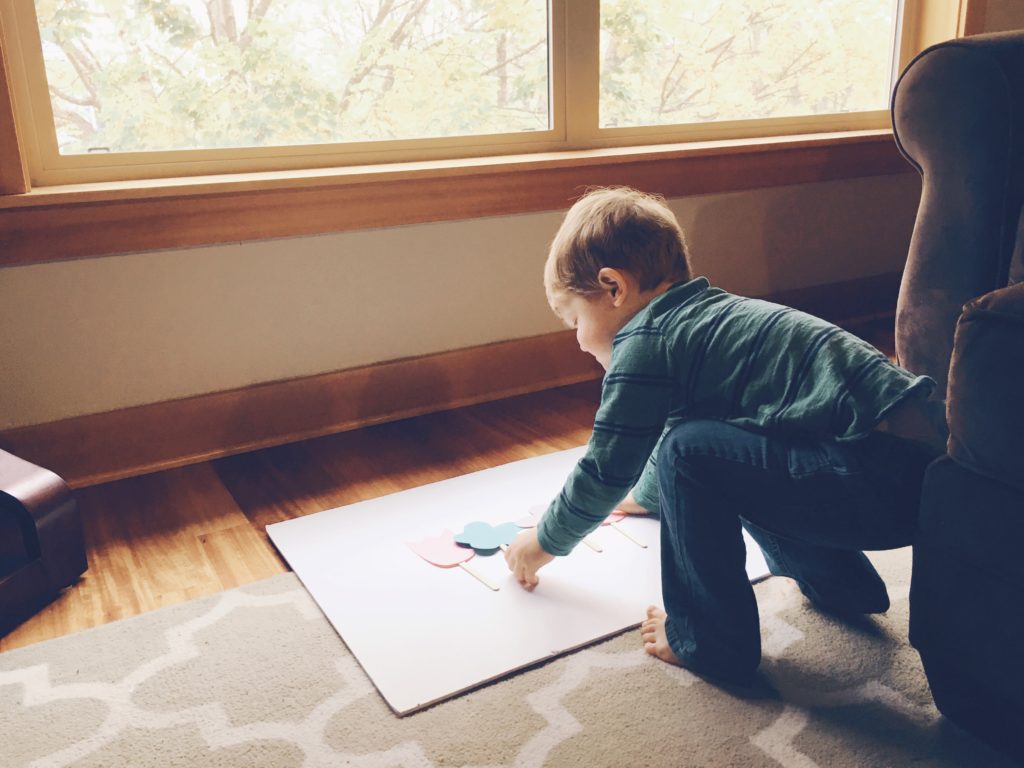
1. Place a plain piece of white posterboard near a window and use natural light. Colin will demonstrate:
2. Hold your phone directly above and snap the photo.
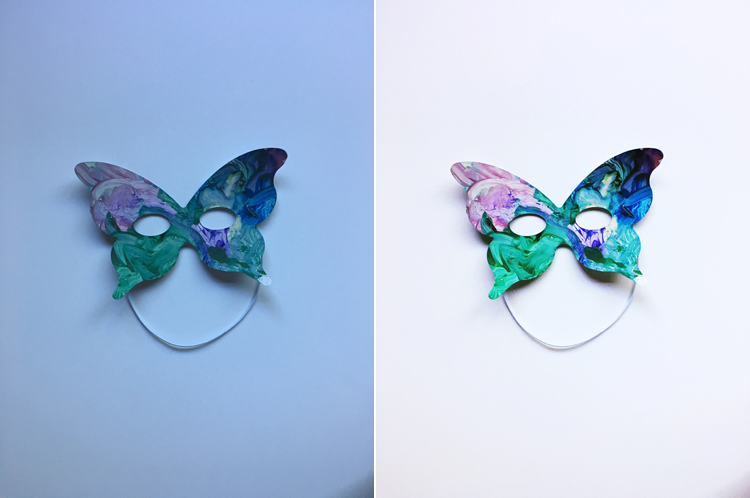
3. The photo will probably come out with a color cast (like the photo on the left below which is straight from my iphone). To fix this, I use the FREE ‘A Color Story‘ app to edit the photo. Below, I used the Pop Filter (in the free Essentials bundle) at 100%, and again at 50% to fix the image. Sometimes I also have to go into Tools/Adjust/Temp and slide to the right to warm up the image and offset the strong blue tones. You can save these steps as a custom filter that makes it even easier to repeat for additional pieces of artwork!
receive a FREE chatbook!
You can give Chatbooks a try and get your first book FOR FREE with this link! I hope you’ll love it as much as we do!
More fun ideas for documenting childhood (of various ages) are coming all week long! If you’d like to receive a summary in your email inbox at the end of the week, enter your email address here!
