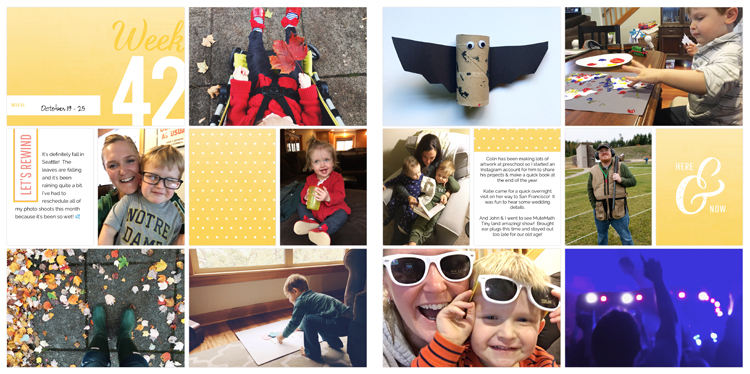
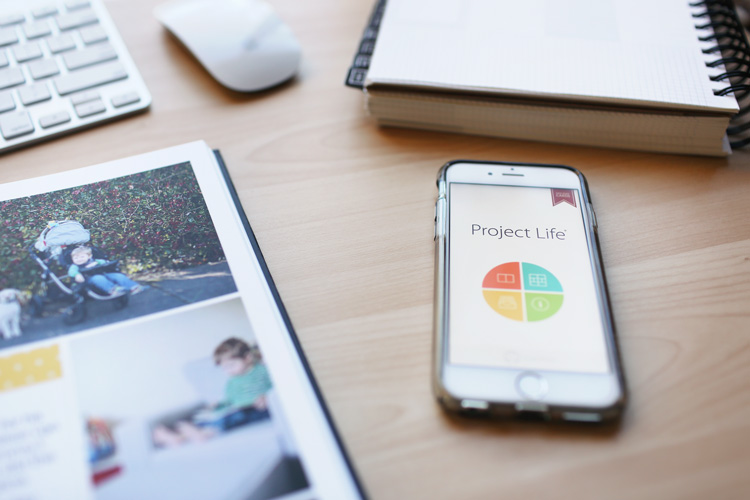
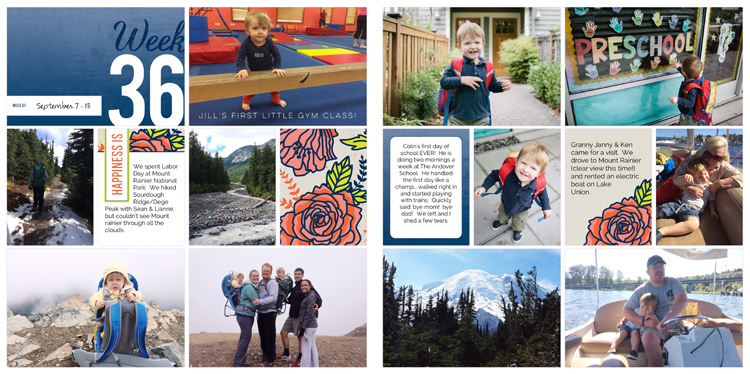
To quickly recap: on Day 1 we talked about why I love Project Life & on Day 2 I shared exactly how I do it. Today I’m excited to share my tips for saving time and making your pages as quickly as possible! I get it… we’re all crazy busy. But you are in fact NOT too busy to do this!
time-saving tips for the project life app
While many people prefer to work this into their weekly routine, I find… for me… I do best/am most efficient when I create my pages in batches. I usually sit down and create 8 weeks at a time (so every other month). It takes me about 1-2 hours. Regardless of your method, these tips should help you save time!
- Minimize design decisions. Select ONE kit & use ONE template for the entire year. Use the same fonts & text sizes too. You can design your pages faster when you’re making fewer design decisions. For me, I am using the Project 52 edition for 2016 and I always use Design A for my pages.
- Drag & Drop. It took me awhile to discover this slick functionality within the app. Once your photos/cards are placed on a page, you can tap on them and drag them to different ‘pockets’.
- Use your ‘favorites’ function in Camera Roll. Before I go into the Project Life app, I spend time scrolling through my Camera Roll to decide which photos are going to ‘make the cut.’ I flag those as ‘favorites’ by tapping the heart right under the photo. Then, inside the Project Life app, I select the favorites photo album and ONLY the photos I’ve pre-selected show up. It’s SO FAST to add them to the page when they’ve been pre-sorted. You can see this in action in the video shared in this post.
- Use Siri for journaling. Let Siri do the typing for you! So much faster!
- Don’t be a perfectionist. If you go through my books you’ll find lots of typos. Photos accidentally repeated. In Jill’s baby book I forgot to make the ‘last page’ that’s pre-designed for you! LET IT ALL GO. Because DONE is better than PERFECT. And, seriously, when my kids page through the books, they never notice!
more project life ideas
Here are a few more things I’ve done with my Project Life books over the years that I really enjoyed:
- Photograph and include (some of) the kid’s artwork. I love seeing my favorite art projects in my weekly pages.

- Take photos of ticket stubs/programs or random memorabilia. If there’s something really, really special that you want to keep the physical copy of, use one of these awesome envelopes (adhere it into the back of the printed book).
- Include funny sayings from the kids. Every couple weeks I include a journaling card full of Colin’s funny pronunciations or phrases. These are some of my favorite things to read when I go back through old albums.
- Add text to your photos. I usually only use one journaling card per page so I don’t always talk about each individual photo. I use the Over App when I want to label a photo to give it more context. [see example below]
- Keep notes. Since I do my pages in batches of about 8 weeks, I keep a file in my phone Notes where I jot things down more real-time to refresh my memory when I sit down to put the pages together. Another great way to do this is with the Memento App.
So, you designed a page… now what? Most Project Lifers order prints directly from the Project Life app, slip them into page protectors & a cutely designed album (all available in the Project Life store). But, I prefer the slim, sleek look of a bound book. Tomorrow I’ll be sharing how I print my books through Blurb! Stay tuned!


